How to Draw Nemo. Finding Nemo is an animated film released in 2003, but although it’s close to its 20th birthday, it’s still popular with audiences.
Also, check our unicorn coloring sheet.
With a beautiful ocean backdrop and unforgettable characters, the film has inspired other forms of media, such as sequels, books, video games and many more.
The story’s focus is Nemo himself, and it is he that we will focus on in this guide on how to draw Nemo.
If you love this cute and unforgettable character, this guide is the perfect way to show admiration for him!
How to Draw Nemo
Step 1
To dive straight into this guide on how to draw Nemo, let’s start with his head and face. The best method to do this is to begin with, her eyes.
For the left eye, we’ll draw a round shape that’s a little flatter than a perfect circle or oval.
Next, for the pupil, we’ll draw two circles inside the eye outline, one inside the other. You can then replicate a second eye on the right, but it will be much smaller due to the angle.
After the eyes are drawn, we’ll use more curved lines to depict her smiling mouth between them. When that’s done, let’s draw some more lines for the side of his face.
These lines meet at a point in the right eye. Once it looks like our reference image, let’s move to step 2.
Step 2
One of Nemo’s fins has a unique feature, but we’ll draw that in the next step. For now, let’s add the first fin to your drawing of Nemo.
This fin will go on Nemo’s good flank, and we will round off the fin’s system with less jagged edges for the advantage of the fin.
Then you can finish with some line detail for the centre of the fin, as shown in our reference image.
Step 3
For the third part of our guide on drawing Nemo, we will add another section to his body and head.
With the thick line above its head, you can draw its dorsal fin with slightly more curved and irregular lines. We then draw two lines around her face, almost as if she were wearing a necklace.
Finally, you can draw a short line for the base of his body and add small fins there. Then you are ready for step 4!
Step 4
We already mentioned that Nemo has an unusual fin, and we will draw it along with other details in this stage of drawing Nemo!
This fin on the left is much smaller than the one on the right and acts as one of the most distinctive features of the character design.
So once we’ve drawn this smaller fin, let’s add more to its body. Once you’ve drawn more stripes for him, you can outline his body.
This gets thinner as it goes down toward his tail. There will also be another small fin on his back, and you can start drawing his tail.
Step 5
This step of our guide to drawing Nemo is all about the finishing touches and the elements.
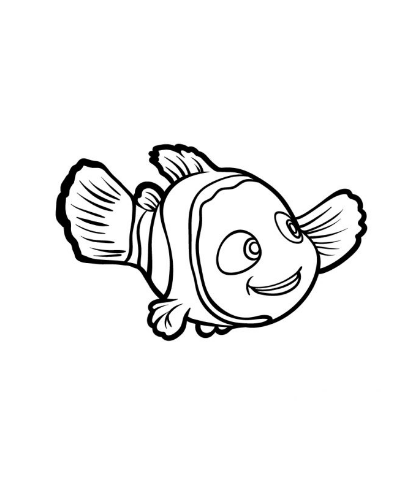
First, use a thick, jagged line for the edge of the tail, then draw its sides. Once you’ve drawn this outline, you can finish Nemo by adding some lines to his tail.
That’s all there is to it; you can colour it in for the next step! You can also add to this design beforehand.
The right way to do this would be to draw a background, which you could do by recreating your favourite scenes from movies. You could also draw other characters like his father, Marlin. How will you complete this picture?
Step 6
We’ll add colour to your image in this final phase of your Nemo drawing!
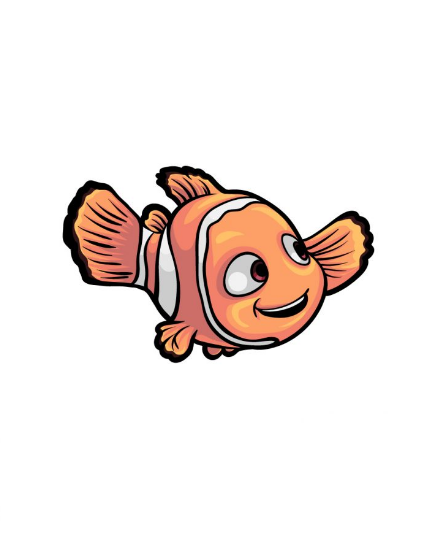
It has a nice, bright colour scheme of bright yellow with orange and black stripes, so those are the colours we used in our reference image.
You can also use different shades of these colours to give the image an even more dynamic look.
Then you can decide which artistic media to use to bring your image to life! Let’s use lighter mediums like coloured markers for Nemo and more subtle mediums like watercolour paints for the background.
This is one of many possible approaches, so have fun experimenting with cool colours!
Your Nemo Drawing is Finished!